Boat detailing isn’t just about making your vessel look good—it’s essential for preserving its condition, preventing long-term damage, and maintaining resale value. While professional boat detailing services can cost $25 to $75 per foot, many boat owners are turning to DIY methods to save money and gain control over the process.
This guide covers the full seven-step process for detailing a boat like a professional, with specific product recommendations and cost-saving tips. It also introduces how a tool like the Giraffe Tools Grandfalls Retractable Pressure Washer PRO can help simplify the job, especially for boats 20 feet and longer.
Step 1: Pre-Rinse and Remove Rust Stains
Begin by rinsing off loose dirt and algae from the entire boat. While a garden hose can do the job, it’s significantly slower and less effective than a pressure washer. For tough waterline stains and rust, use a marine rust remover or a diluted oxalic acid solution.
Avoid using bleach. It can damage vinyl, strip protective coatings, and accelerate material degradation.
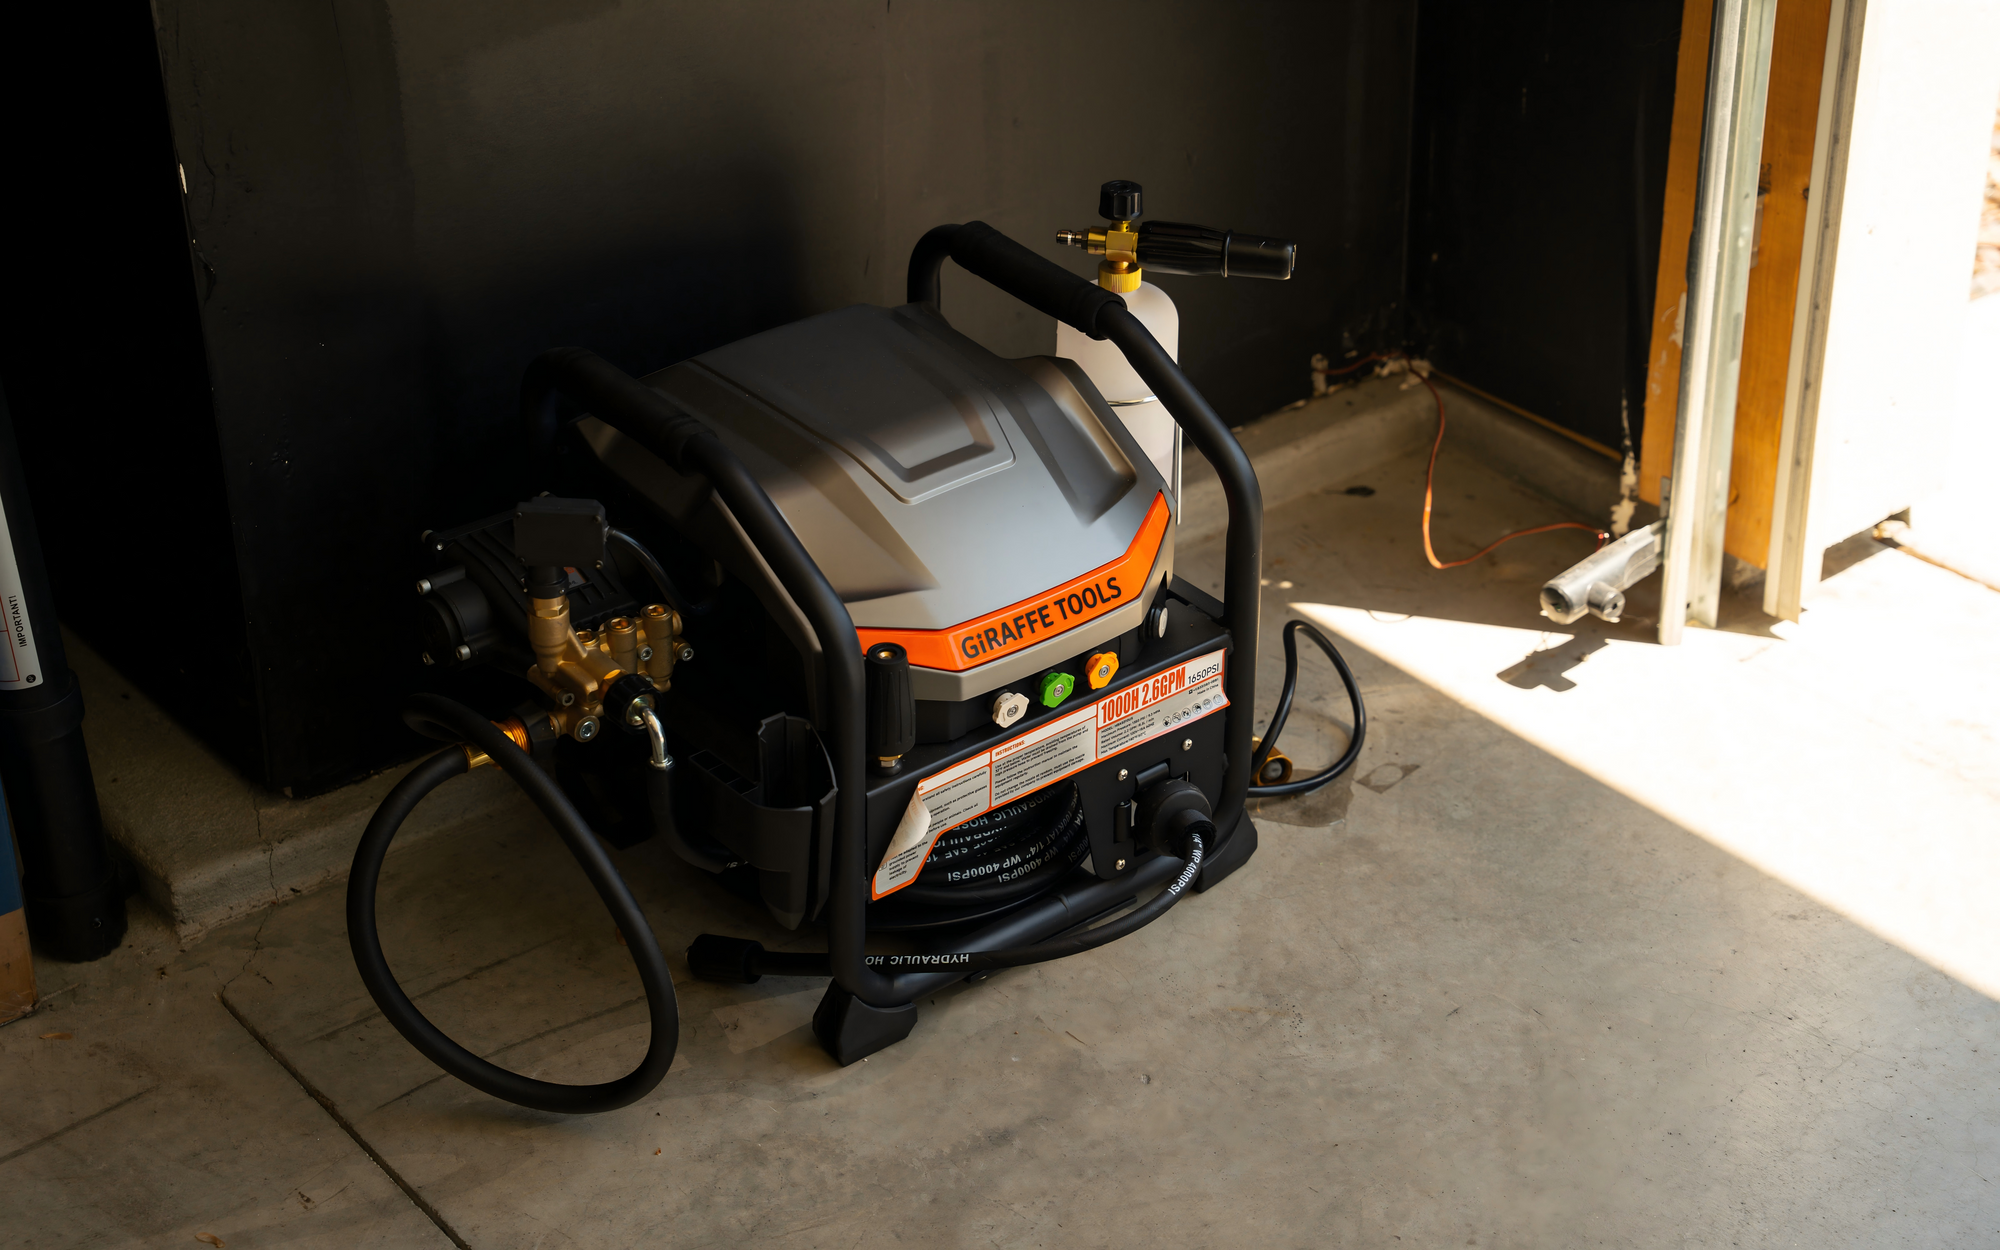
A high-pressure washer like the Giraffe Tools PRO (up to 3700 PSI) with a 100-foot retractable hose can reduce rinse time by half and reach all areas of the hull with minimal effort.
Step 2: Deep Clean Vinyl Seats and Interior
Interior materials like vinyl seats, carpet, plastic compartments, and acrylic panels require specific care. Choose marine-safe cleaners that are pH-neutral and designed for soft surfaces.
Recommended tools and products include:
-
Marine vinyl cleaner
-
Interior plastic or multipurpose cleaner
-
Microfiber towels
-
Glass-safe cleaner for consoles and windshields
Avoid household products like dish soap or bleach. These can cause cracking, fading, or chemical residue buildup.
Professional interior detailing may cost between $5 to $25 per foot, but DIY solutions typically cost under $50 and take about 2 hours.
Step 3: Wash the Topside and Hull
Use a boat-specific soap or a wash-and-wax formula. Start at the top and work downward to avoid water spots. Always work in small sections and rinse thoroughly before the soap dries.
For boats with oxidation (dull, chalky surfaces), a compound polish should replace wax at this stage.
A pressure washer like the Giraffe Tools PRO helps distribute water and cleaner evenly. Use a wide-angle tip or a foam cannon attachment to prevent damage to the gel coat.
Step 4: Polish Metal and Apply Corrosion Blocker
After cleaning, polish all stainless steel hardware such as cleats, railings, and latches using a marine-safe metal polish. Follow up with a corrosion blocker to protect these components from saltwater exposure and oxidation.
Skipping this step often leads to costly hardware replacements later on.
Step 5: Protect Seats and High-Wear Surfaces
Once the vinyl seating is clean and dry, apply a UV-protective vinyl conditioner. This helps prevent sun damage, cracking, and premature aging.
High-use areas like cooler tops, helm seats, and armrests can also benefit from a layer of ceramic protectant for added durability.
Step 6: Restore and Seal Gel Coat and Glass
The gel coat gives the boat its glossy, polished look. Over time, it fades due to UV exposure and oxidation. Follow a two-step polishing process:
-
Use a compound polish to remove oxidation
-
Follow with a finishing polish to restore gloss and depth
Seal the finish using a polymer sealant or a ceramic marine spray. These coatings last 6 to 12 months and make future cleanings easier.
With a pressure washer like the Giraffe Tools PRO, you can precisely control water pressure to avoid over-spraying sensitive decals or seams.
Step 7: Final Touch and Inspection
After detailing, use a dry microfiber towel to wipe away any residue or haze. Walk around the boat and check hard-to-reach areas like around hatches, under cushions, and inside storage compartments.
Apply a quick-detail spray to chrome and glass surfaces to enhance clarity and add shine.
A final checklist might include:
-
Are the storage areas dry?
-
Are there streaks or water spots on glass or metal?
-
Is the hose properly retracted and equipment stored?
Cost Comparison: DIY vs. Professional Detailing
| Option | Estimated Cost (20-foot boat) | Frequency (Yearly) | Payback Period |
|---|---|---|---|
| Professional full detailing | $600–$1,200 | 2–4 times | Recurring cost |
| DIY without equipment | $100–$150 | 2–4 times | Requires more labor |
| DIY with Giraffe Tools PRO | $699.99 (one-time investment) | 2–4 times | Pays off within 1–2 uses |
While professional detailing may offer convenience, the return on investment from owning your own pressure washer is clear, especially if you clean your boat multiple times a year.
Final Thoughts
Detailing your own boat can feel intimidating at first, but with the right process and equipment, it becomes a rewarding part of ownership. Not only does it save money over time, but it also helps you spot wear and tear before it becomes a costly repair.
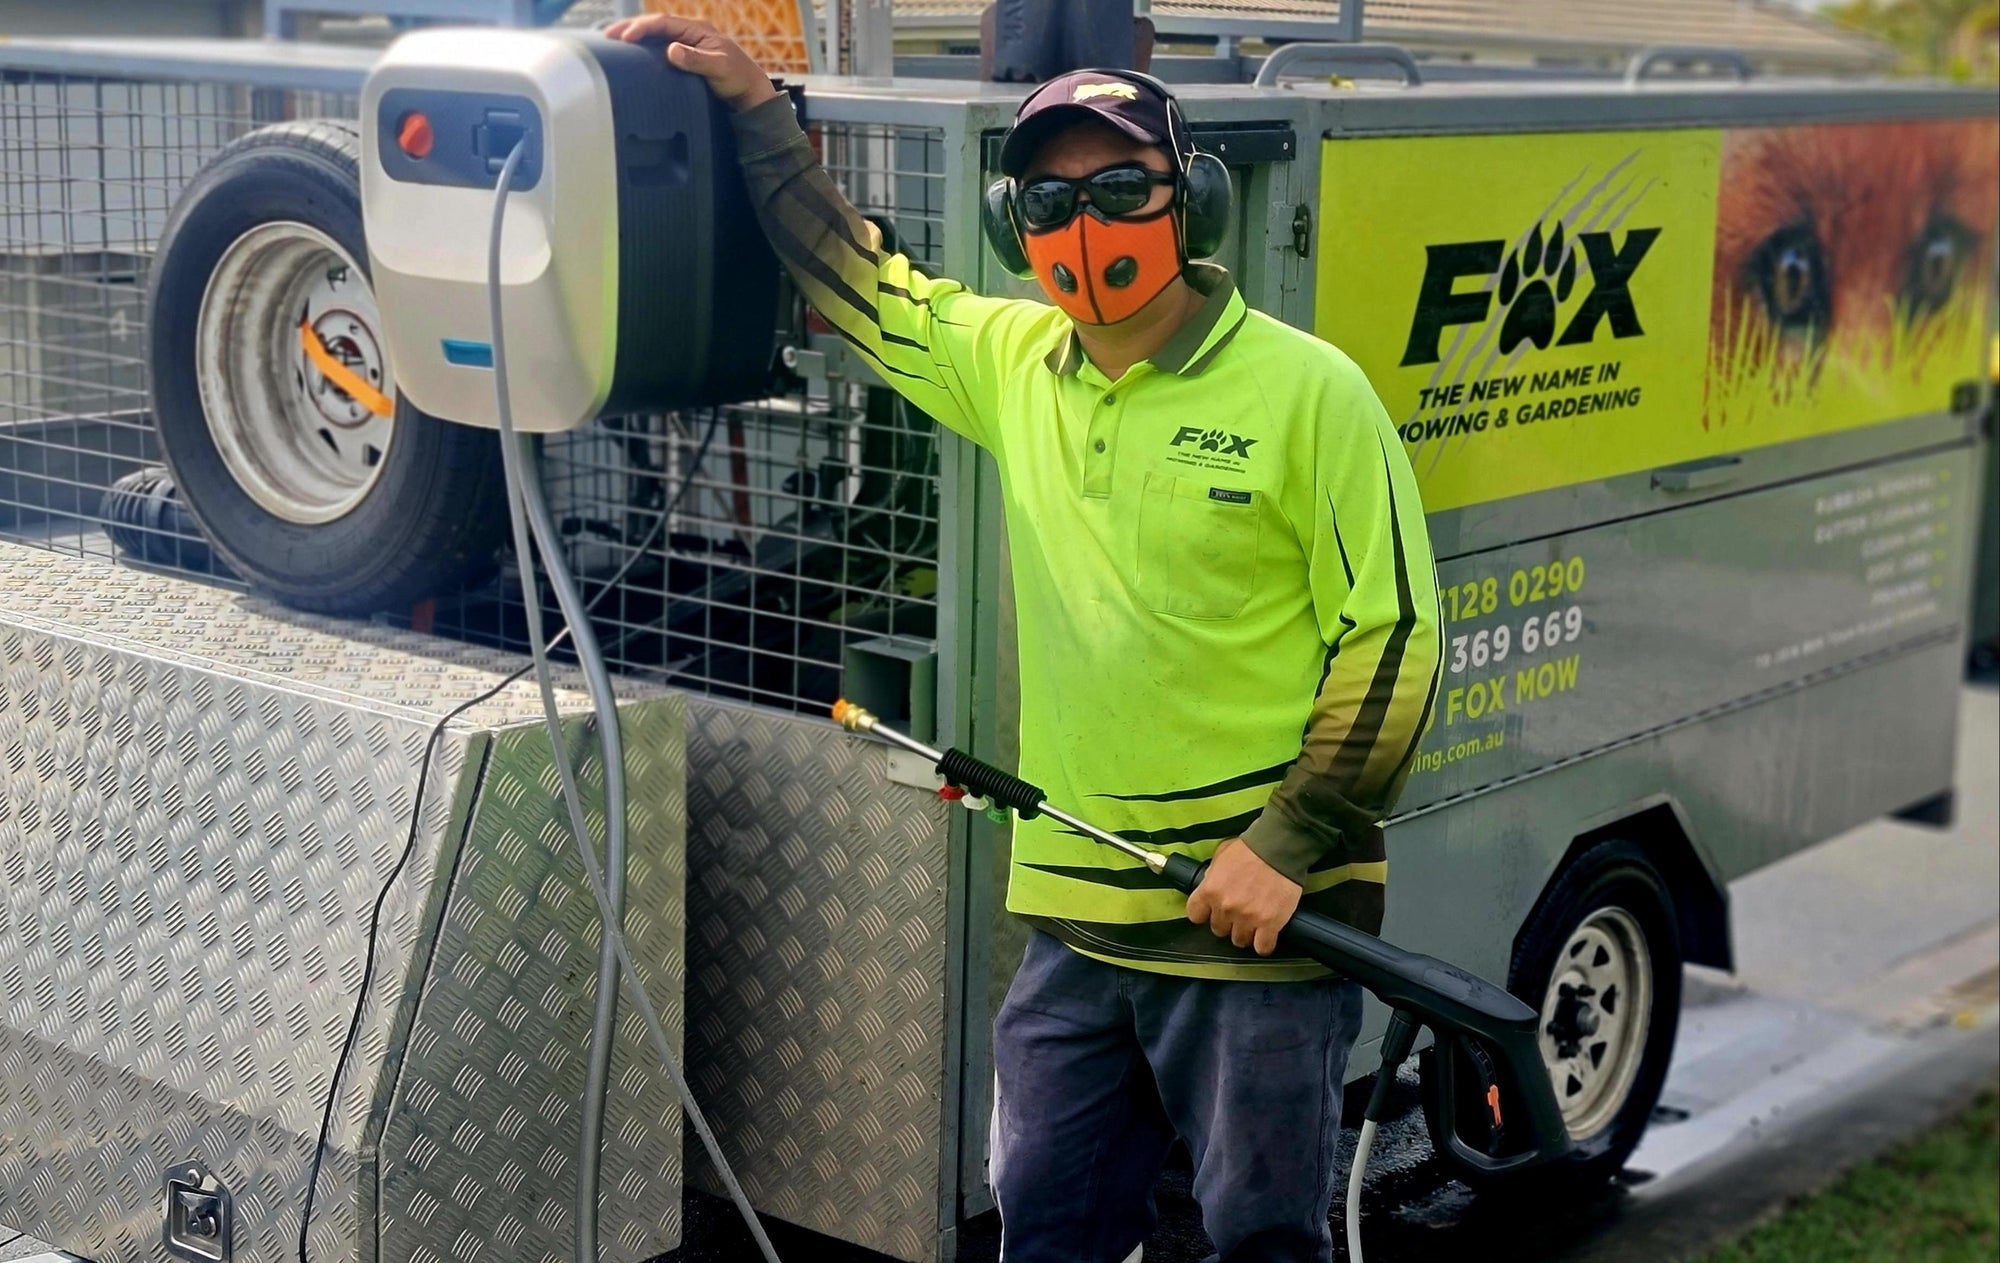
The Giraffe Tools Grandfalls Retractable Pressure Washer PRO is a powerful, user-friendly option for boat owners who want professional-level results without hiring a service. Its long retractable hose, stable pressure control, and wall-mounted design make it particularly suited for boatyards, garages, and marina setups.
Explore more about Giraffe Tools' marine cleaning solutions.