There's something deeply satisfying about a perfectly detailed car. It's more than just clean; it's rejuvenated, protected, and commands attention. Whether you're a dedicated enthusiast aiming for concours-level perfection on your own vehicle, or an entrepreneur laying the foundation for a successful mobile or shop-based detailing business, mastering the art of professional detailing requires knowledge, patience, and the right tools.
This comprehensive guide will walk you through the essential steps, techniques, and considerations for achieving truly professional results. We'll cover everything from initial setup and the crucial wash stages to paint decontamination, protection, and meticulous interior cleaning. Forget quick car washes; we're diving deep into the craft of auto detailing.
Section 1: The Foundation – Setting Up Your Detailing Workspace
Before the first drop of water hits the paint, preparation is key. A well-organized space enhances efficiency and safety.
· Location: Ideally, work in the shade or indoors to prevent cleaning solutions from drying too quickly and causing spots. Good lighting is essential for spotting imperfections.
· Water Access: A reliable water source is non-negotiable. Consider water quality (hard water can leave spots).
· Power Needs: Many detailing tools require electricity. Plan your power access accordingly.
· Organization: This is where efficiency begins, especially for a small business. Keeping tools and supplies organized saves time and presents a professional image.
Essential Equipment Spotlight:
While techniques are vital, professional results are significantly aided by professional-grade tools:
1. Pressure Washer: The cornerstone of safe and effective exterior cleaning. It allows for touchless removal of loose grit (reducing swirl marks), efficient rinsing, and is essential for using foam cannons.
o Why Pro-Grade Matters: Look for adjustable pressure settings (PSI) and flow rates (GPM) to tackle different tasks safely. Reliability is key for business use.
o Product Integration: Models like the Grandfalls Retractable Pressure Washer PRO offer robust performance suitable for frequent use. Its integrated retractable hose reel is a game-changer for workflow efficiency and preventing trip hazards in your workspace – crucial for both home garages and professional setups.
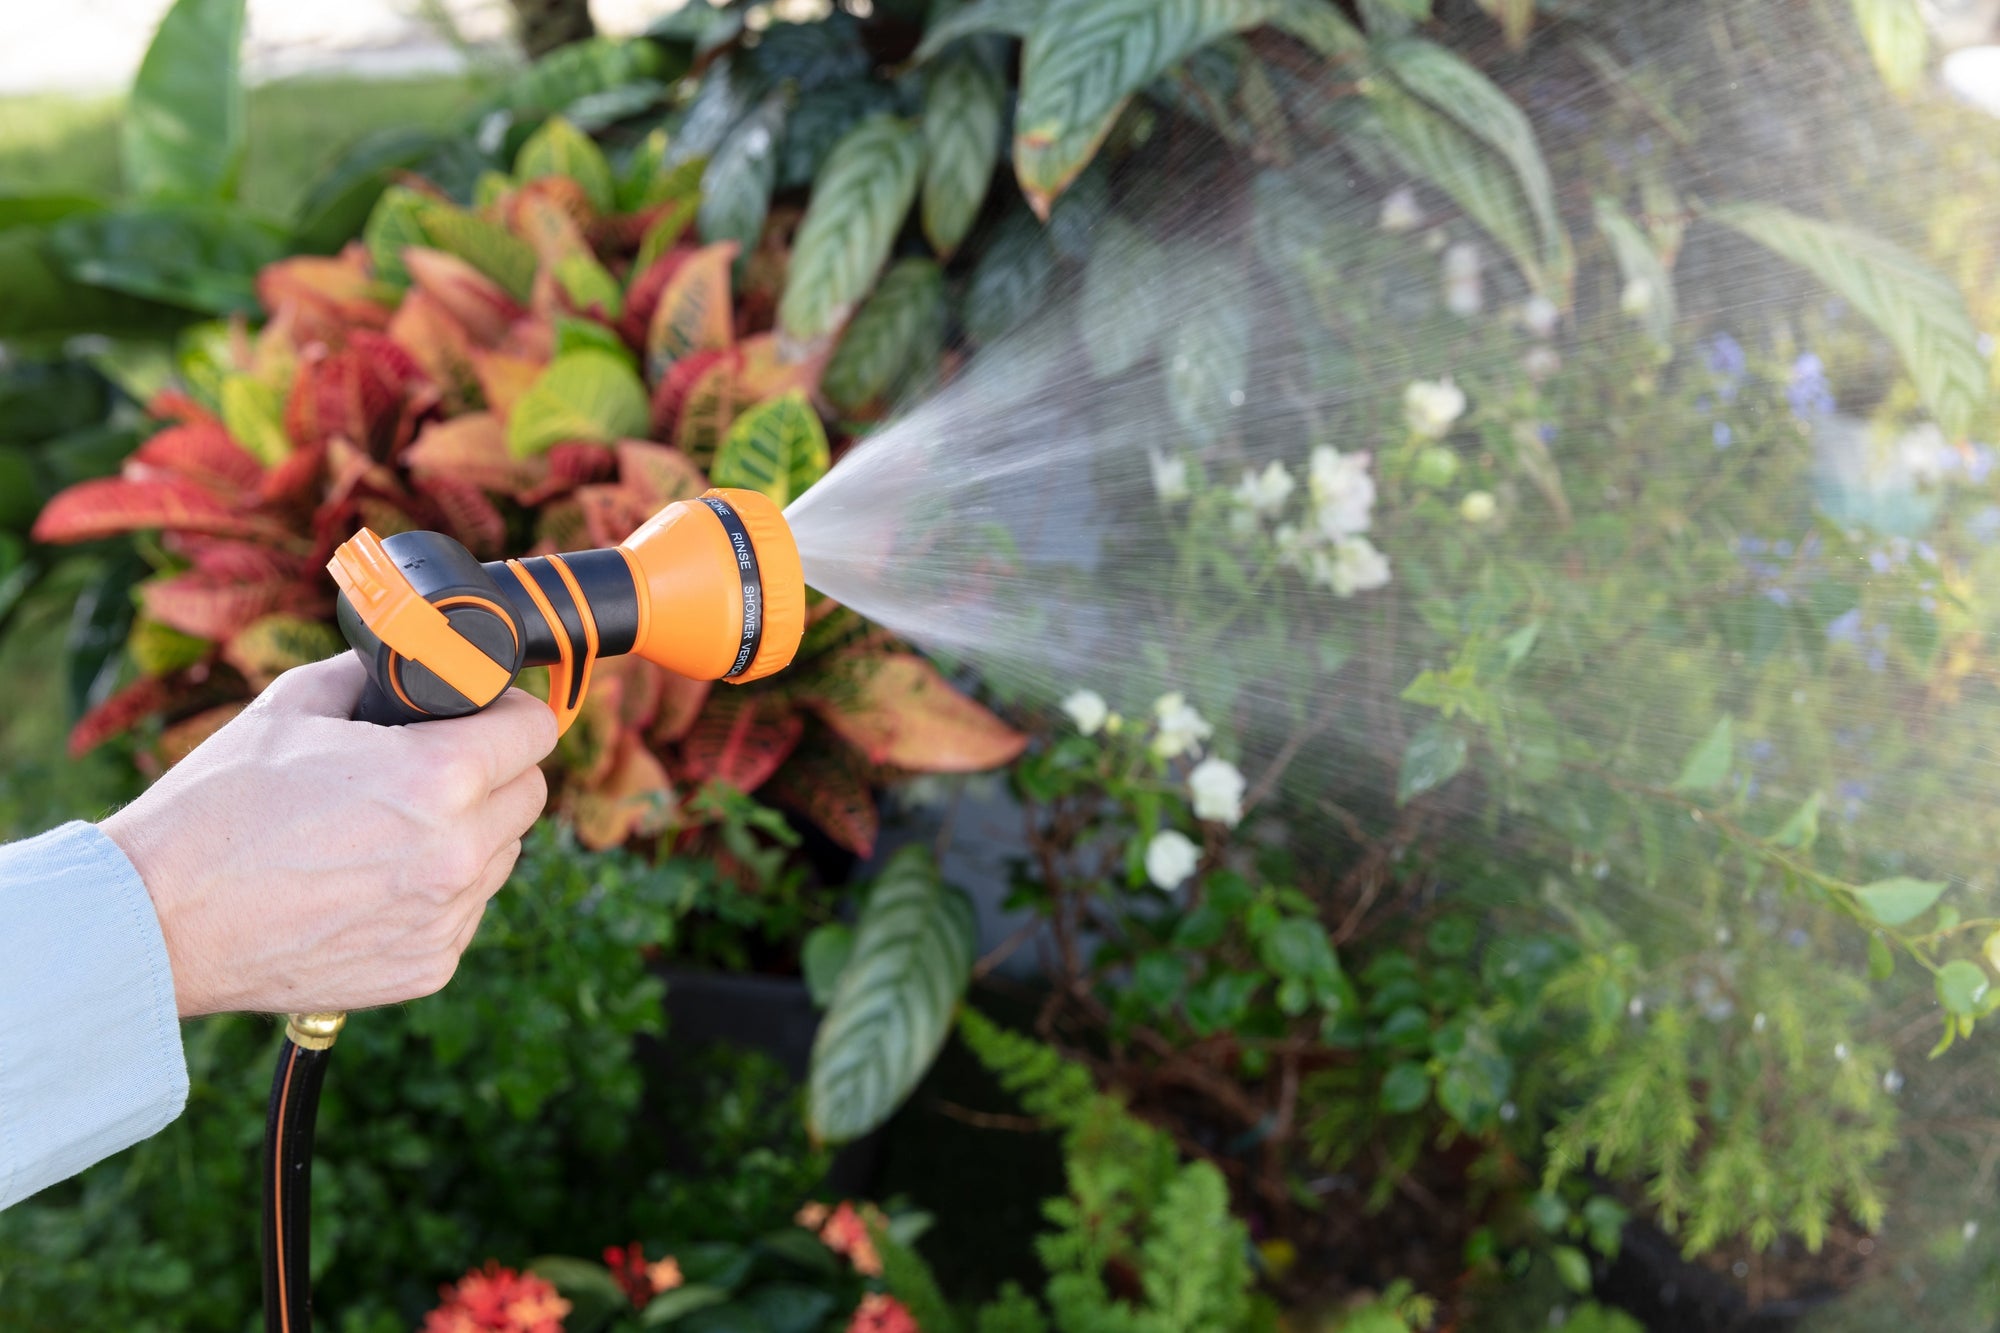
2. Water Hose Management: A tangled hose is frustrating and unprofessional.
o Product Integration: Using a Retractable Hose Reel ensures your water supply hose is neatly stored, protected, and easily accessible, complementing the organized setup provided by the pressure washer reel.
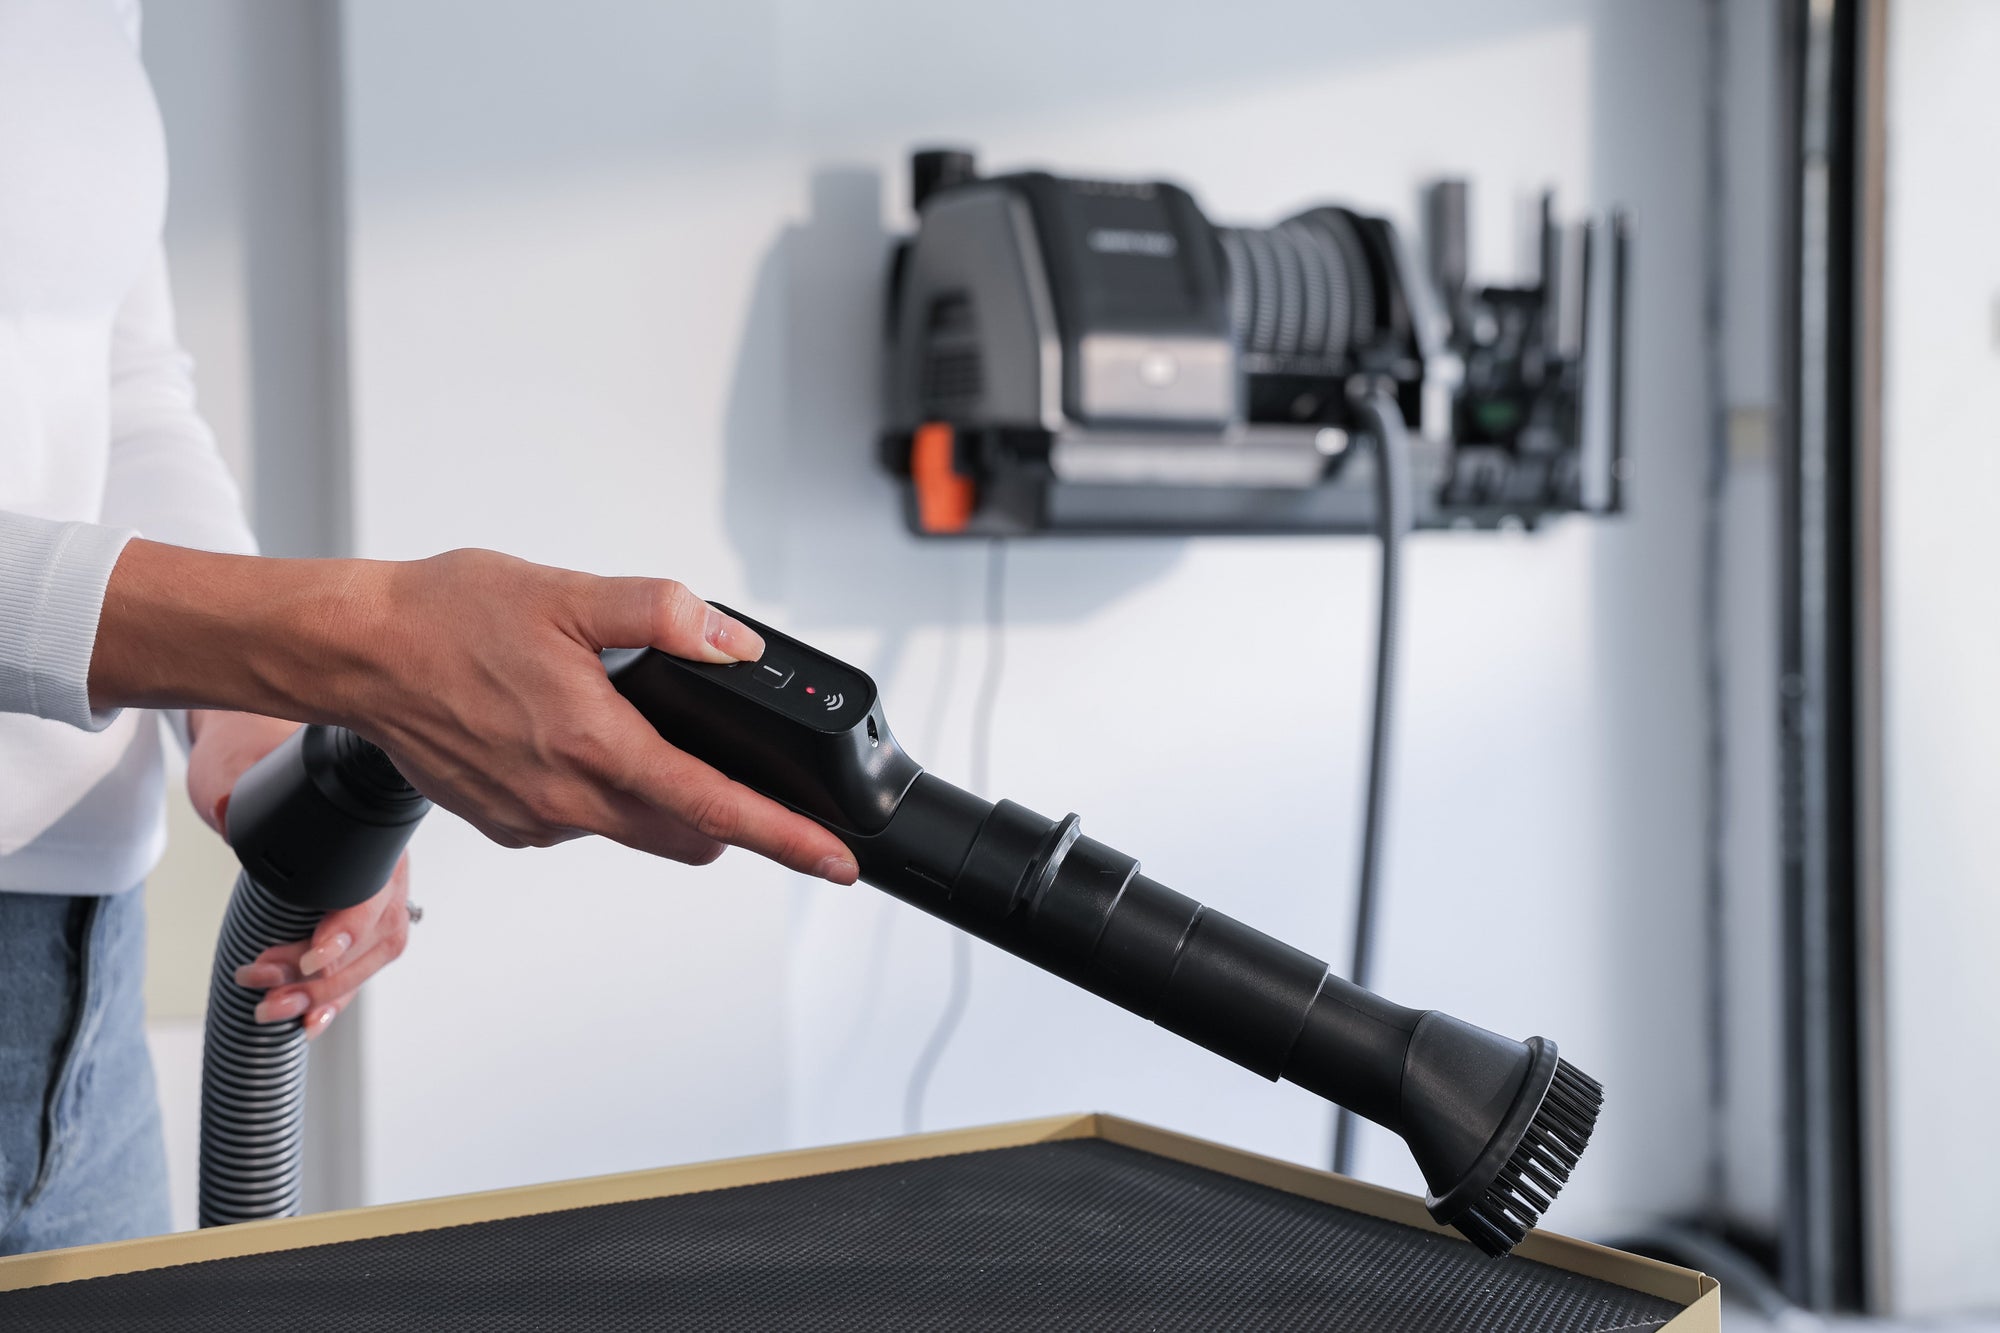
3. Vacuum Cleaner: Indispensable for interior cleaning. Power and appropriate attachments are crucial.
o Product Integration: The Grandstorm Retractable Vacuum Cleaner provides strong suction needed for embedded dirt in carpets and upholstery. Its retractable cord minimizes clutter and setup time, allowing you to move around vehicle interiors efficiently.
4. Air Compressor & Reel: Often overlooked but incredibly useful for blowing dust from intricate areas (vents, crevices), drying badges and trim, and potentially powering air tools.
o Product Integration: A Retractable Air Hose Reel keeps your air hose managed and ready, enhancing safety and workflow, just like its water and power counterparts.
5. Extension Cord Management: Powering polishers, lights, vacuums, and pressure washers often requires extension cords.
o Product Integration: A heavy-duty Retractable Extension Cord Reel (like a 12/14 AWG model) ensures safe power delivery without creating a tangled mess, vital for safety and professionalism.
6. Buckets & Grit Guards: The two-bucket wash method is fundamental. Always use grit guards.
7. Wash Mitts & Microfiber Towels: High-quality, clean materials are essential to prevent scratching. Have separate towels for different tasks (washing, drying, glass, interior, wheels).
8. Brushes: Various sizes and stiffness for wheels, tires, carpets, vents, etc.
9. Chemicals: Quality soaps, degreasers, iron removers, tar removers, clay lubricant, polishes, compounds, waxes/sealants, interior cleaners, glass cleaner, tire dressing.
Section 2: The Wash Process – Safely Removing the Dirt
This multi-stage process minimizes the risk of inflicting swirl marks and scratches.
· Step 1: Wheels & Tires First: These are usually the dirtiest parts. Use a dedicated wheel cleaner (acid-free for most wheels) and various brushes. Rinse thoroughly.
· Step 2: Pre-Wash/Rinse: Use your Pressure Washer on a medium pressure setting to rinse the entire vehicle top-down. This removes heavy, loose dirt before you touch the paint. Pro Tip: Consider using a foam cannon attached to your pressure washer during this stage to encapsulate dirt and lift it from the surface.
· Step 3: The Two-Bucket Hand Wash:
o Fill one bucket with water and grit guard (Rinse Bucket).
o Fill the second bucket with water, grit guard, and pH-neutral car shampoo (Wash Bucket).
o Dunk your high-quality wash mitt into the Wash Bucket. Wash the car gently, panel by panel, starting from the top (roof) and working down.
o Crucially: After each panel (or section), rinse the dirty mitt thoroughly in the Rinse Bucket before putting it back into the Wash Bucket. This prevents transferring grit back onto the paint.
· Step 4: Final Rinse: Rinse the vehicle thoroughly from top to bottom using the Pressure Washer or hose, ensuring all soap residue is gone.
· Step 5: Drying: Avoid water spots! Use high-quality, plush microfiber drying towels (blotting or gently dragging technique) or an air blower/compressed air (great for crevices, using your Air Hose Reel setup).
Section 3: Decontamination – Removing Bonded Contaminants
Even after washing, contaminants can bond to your paint, making it feel rough.
· Chemical Decontamination:
o Iron Removers: Spray on, let dwell (often turn purple as they react with iron particles from brake dust), rinse off thoroughly.
o Tar Removers: Apply to affected areas, let dissolve tar spots, wipe gently, rinse.
· Mechanical Decontamination (Clay Bar/Mitt):
o Work on a cool, clean, wet surface. Use plenty of clay lubricant.
o Gently glide the clay bar or mitt over the paint in straight lines. You'll feel it grab initially, then glide smoothly as contaminants are picked up.
o Fold/rinse the clay frequently to expose a clean surface.
o Rinse the vehicle again after claying. The paint should feel perfectly smooth.
Section 4: Paint Correction – Restoring Clarity & Gloss (Optional but Transformative)
This stage addresses swirls, light scratches, and oxidation. It requires practice and care.
· Assessment: Use good lighting to identify paint defects.
· Polishing: Machine polishing (Dual Action/DA polishers are safer for beginners) is most effective. Uses an abrasive polish and pad combination to level the clear coat, removing imperfections.
o Requires specific pads (cutting, polishing, finishing) and polishes/compounds.
o Always start with the least aggressive method (lighter polish/pad) on a test spot.
o Keep the polisher moving, work in small sections. Ensure reliable power with your Retractable Extension Cord Reel.
· Wipe Down: After polishing, wipe panels with an IPA (Isopropyl Alcohol) solution or panel prep spray to remove polishing oils before protection.
Section 5: Protection – Sealing the Deal
Applying protection locks in the corrected finish and guards against the elements.
· Waxes: Offer warmth and gloss, typically last weeks to months (Carnauba vs. Synthetic).
· Sealants: Synthetic polymers offering longer-lasting protection (months). Often provide a slick, glassy look.
· Ceramic Coatings: The most durable option (years), providing excellent chemical resistance, UV protection, and hydrophobic properties. Requires meticulous prep and application, often best left to experienced users or professionals.
· Application: Apply thin, even coats according to product instructions. Allow proper curing time before buffing off or exposing to water.
Section 6: Interior Detailing – The Inside Job
A clean interior completes the experience.
· Step 1: Declutter & Dry Clean: Remove all personal items and trash. Remove floor mats.
· Step 2: Thorough Vacuuming: Use your Grandstorm Retractable Vacuum with various attachments (crevice tool, brush tool) to reach every nook and cranny – under seats, between console parts, etc. Vacuum mats separately.
· Step 3: Compressed Air: Use your Air Compressor/Reel to blow dust and debris from vents, switches, seams, and hard-to-reach areas before wiping.
· Step 4: Surface Cleaning: Use appropriate cleaners (all-purpose cleaner, dedicated plastic/vinyl cleaner, leather cleaner) and microfiber towels/soft brushes. Avoid dressing agents on controls (steering wheel, pedals).
· Step 5: Carpets & Upholstery: Address spots and stains with fabric cleaner and a brush. For deep cleaning, a carpet extractor (or wet/dry capability on your vacuum if applicable) may be needed.
· Step 6: Glass Cleaning: Use a dedicated automotive glass cleaner and clean microfiber towels (waffle weave works well) for a streak-free finish. Clean inside and out.
· Step 7: Dressing & Protection: Apply UV protectant dressings to plastic and vinyl surfaces (choose matte or satin finish for an OEM look). Condition leather seats if applicable.
Section 7: Final Touches
· Tire Dressing: Apply a quality tire shine (water-based preferred for less sling).
· Final Wipe-Down: Use a quick detailer spray and a clean microfiber towel for a final gloss boost and to remove any remaining dust or fingerprints.
· Inspect: Check your work under different lighting conditions.
Section 8: Tips for the Aspiring Detailing Business
· Master the Basics: Consistency and quality are paramount. Don't offer services you haven't perfected.
· Efficiency is Key: Develop a repeatable workflow. Organized tools, like using Retractable Reels (Pressure Washer, Air, Power, Vacuum), save significant time and reduce fatigue over a workday. They also project a highly professional image to clients.
· Invest in Quality: Reliable tools (like the durable Grandfalls Pressure Washer or Grandstorm Vacuum) reduce downtime and produce better results. Quality chemicals and towels also make a difference.
· Manage Expectations: Clearly communicate with clients about what results are achievable for their vehicle's condition and the service package they choose.
· Pricing: Research local market rates. Factor in your time, product costs, insurance, and desired profit. Offer tiered packages.
· Insurance: Essential for protecting yourself and client vehicles.
Conclusion: The Pursuit of Perfection
Car detailing is a rewarding craft that blends technical skill with an eye for detail. Whether you're pampering your pride and joy or building a business, following these professional steps and utilizing efficient, reliable tools will set you on the path to achieving stunning, durable results. The journey from a dirt-covered vehicle to a gleaming, protected finish is within reach.