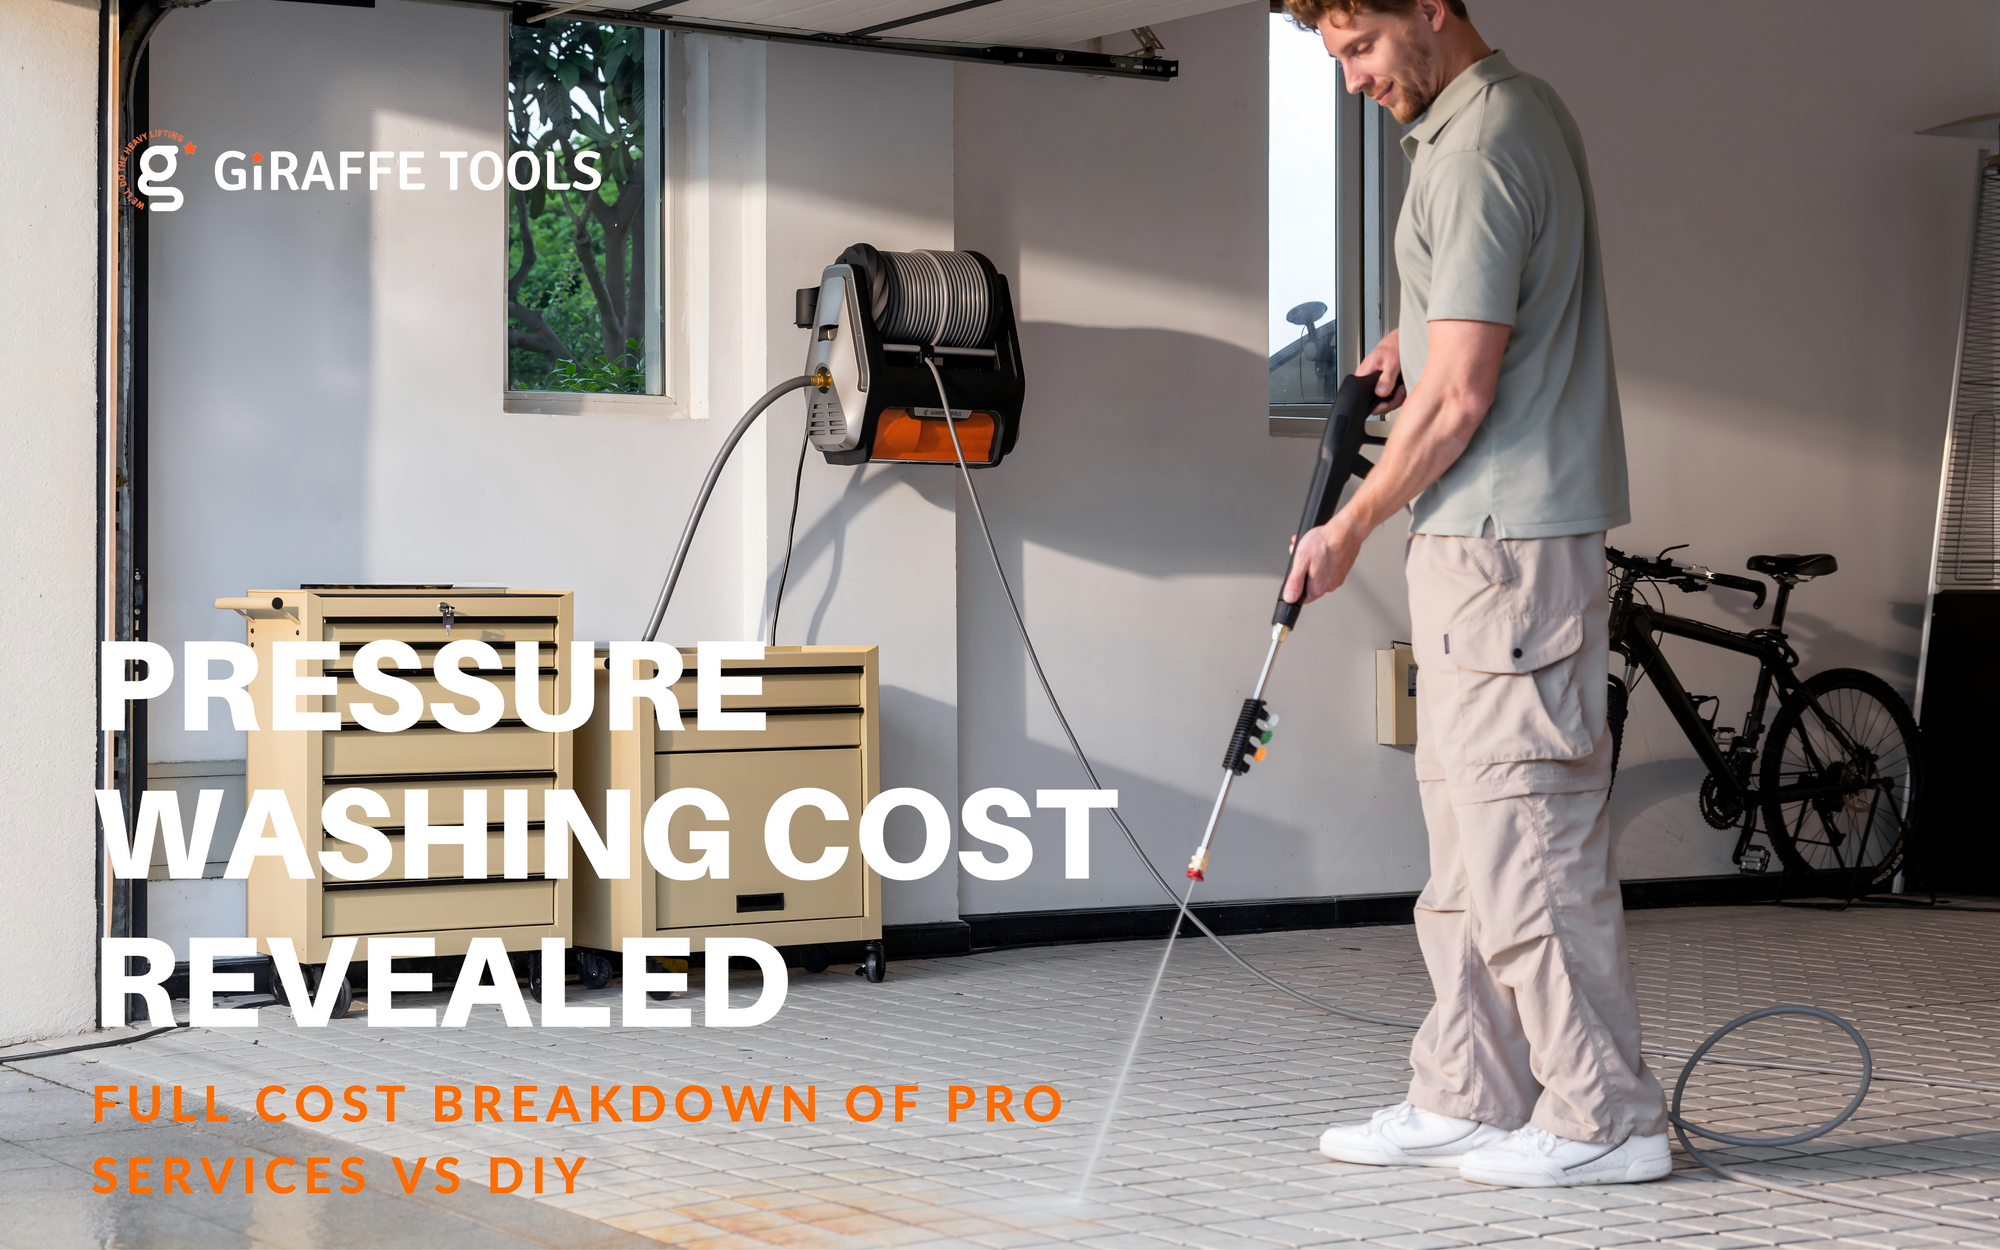
A clean garage, a spotless driveway, or a freshly washed car begins with the right cleaning equipment. The pressure washer from Giraffe Tools is built for power, convenience, and daily reliability. To help you get the best performance out of your unit, this guide provides three installation methods:
-
Standard wall-mount installation
-
DIY hand-truck (dolly) setup
-
DIY utility cart setup
Each method includes precise measurements, safety notes, and engineering considerations to ensure the unit operates smoothly and safely.
What You’ll Need
General Tools
-
Electric drill with 12 mm bit
-
Screwdriver
-
Wrench or socket set
-
Level
-
Zip ties or hose clamps
For Wall-Mount Setup
-
Provided mounting template
-
Four wall anchors and screws (included)
-
Pressure washer base bracket
For DIY Hand-Truck Setup
-
Steel hand truck / dolly (rated 60–120 kg capacity)
-
18 mm waterproof board for mounting plate
-
M8 × 50 mm bolts + washers + locknuts
-
Anti-vibration rubber pads
-
Two steel L-brackets or mounting bars
-
Optional: straps, cable clips
For DIY Utility Cart Setup
-
Wood or metal tubing for the frame
-
18 mm thick waterproof top platform
-
4 heavy-duty caster wheels (2 with brakes)
-
Bolts, screws, washers, nuts
-
Optional: spray gun hook, accessory basket
Method 1: Wall-Mounted Installation
Step 1: Choose the Mounting Location
Select a flat, sturdy wall surface and ensure the mounting height is 24–32 inches above the ground. This height range provides the best smoothness and efficiency for hose extension and retraction. Choose a spot close to both a power outlet and a water tap.
Step 2: Mark and Drill Holes
Attach the provided template to the wall.
Mark all four drilling locations.
Drill into the wall with a 12 mm bit to a depth of about 2.5 inches.
Step 3: Install the Base Plate
Insert the wall anchors.
Align the base plate with the holes and tighten all screws securely using a wrench.
Check that the base plate is perfectly level.
Step 4: Attach the Pressure Washer
Slide the machine downward into the base plate until it locks.
The installation should feel firm and stable.
Step 5: Connect Water and Power
Connect the inlet hose to a water supply.
Attach the high-pressure hose to the spray gun.
Insert the nozzle tip.
Release the trigger lock and test spray.
Method 2: DIY Hand-Truck (Dolly) Mobile Setup
This option is ideal for users who want maximum mobility without building a full cart. It converts the pressure washer into a vertical rolling system similar to a portable commercial unit.

Engineering Considerations
-
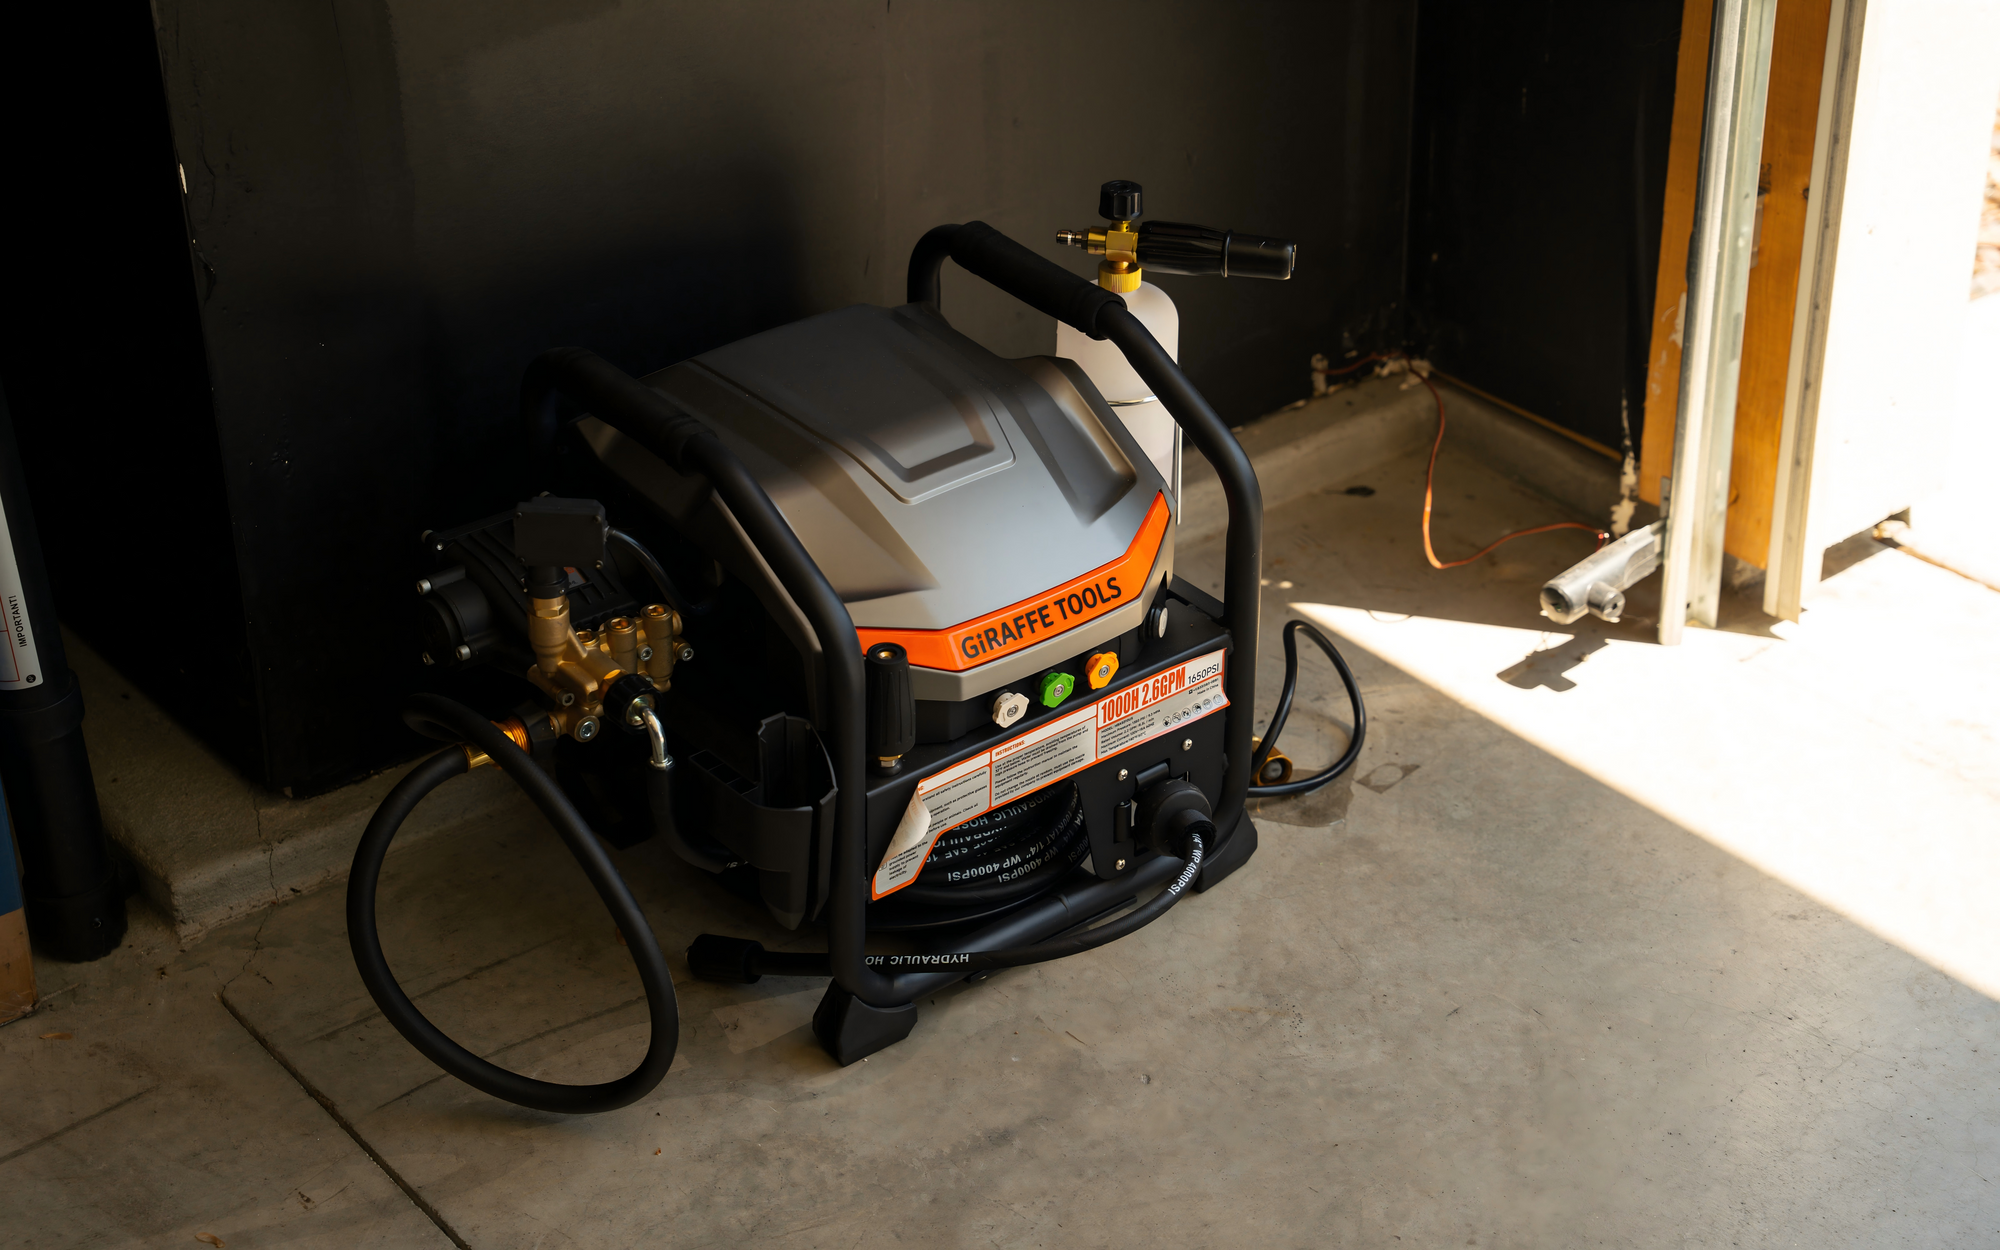
Pressure washer size: approx. 65.3 cm (W) × 35.3 cm (D) × 88.1 cm (H)
-
Weight: approx. 20–25 kg
-
Dolly must be rated for at least 60 kg to ensure stability
-
Base plate must be mounted at the center of the dolly to avoid tipping
-
Rear clearance: leave at least 5–8 cm behind the hose reel area for airflow and routing
Step-by-Step Instructions
Step 1: Prepare the Dolly
Choose a steel hand truck with:
-
Base width ≥ 40 cm
-
Frame height ≥ 110 cm
-
Pneumatic or solid rubber wheels
-
Flat metal back panel preferred
Attach two anti-vibration rubber pads to reduce noise and frame friction.
Step 2: Install the Mounting Board
Cut an 18 mm waterproof plywood panel to approx.
-
55 × 45 cm
Fix it securely to the dolly using L-brackets or steel mounting bars.
This board serves as the “wall” for attaching the pressure washer’s base plate.
Step 3: Mount the Base Plate
Place the pressure washer base plate in the center and mark the four holes.
Drill 12 mm holes through the board.
Insert M8 bolts from the back and use washers + locknuts to secure the plate.
Step 4: Attach the Pressure Washer
Slide the machine onto the base plate until it locks.
Make sure the weight is centered on the dolly to prevent tipping.
Step 5: Cable and Hose Management
Use straps or Velcro to manage the inlet hose, gun hose, and power cable.
Ensure the dolly handle remains fully accessible.
Method 3: DIY Utility Cart Setup
A utility cart allows users to create a full mobile wash station with storage, stability, and convenience.

Engineering Requirements
-
Cart must support 25+ kg
-
Top platform must accommodate 70 × 50 cm minimum
-
Machine width 65.3 cm must be fully supported
-
Lower shelf improves stability by lowering the center of gravity
-
Rear space of 5–8 cm needed to prevent hose rubbing during retraction
Recommended Dimensions
| Section | Measurement | Purpose |
|---|---|---|
| Top platform | 70 × 50 cm | Matches machine width and depth |
| Cart height | 75–85 cm | Same as wall-mount height range |
| Frame width | ≥70 cm | Prevents tipping |
| Lower shelf height | 15 cm above ground | Storage + counterweight |
Step-by-Step Instructions
Step 1: Build the Main Frame
Cut metal or wood tubing to form a frame:
70 cm (W) × 50 cm (D) × 75–85 cm (H)
Secure corners with L-brackets.
Check that the frame is level and rigid.
Step 2: Add Lower Storage Shelf
Install a second platform 15 cm above the ground.
This shelf is ideal for tools, soap, and accessories.
It also acts as ballast to keep the cart stable.
Step 3: Install Caster Wheels
Attach four heavy-duty caster wheels under each corner.
Ensure at least two wheels have locking brakes.
Use bolts with washers for high load capacity.
Step 4: Mount the Top Platform
Fix the 70 × 50 cm board to the top of the frame.
Ensure the right side has room for the inlet hose.
Rear clearance of 5–8 cm prevents wear on the hose reel housing.
Step 5: Install the Base Plate
Place the original base plate on the top platform.
Mark hole positions and drill four 12 mm holes.
Secure using M8 bolts and locknuts.
Step 6: Attach the Pressure Washer
Slide the unit down until it clicks into place.
Verify stability and check that the platform fully supports the 65 cm width.
Step 7: Connect Water and Power
Attach the inlet hose and high-pressure hose.
Route hoses neatly to avoid twisting.
Add hooks or bins for organization if desired.
Safety and Usage Notes
-
Always lock caster wheels before spraying
-
Release pressure before connecting or disconnecting hoses
-
Never install the wall mount on drywall
-
Keep the machine covered when stored outdoors
-
Clean the inlet filter monthly
Conclusion
Whether mounted to the wall, fixed to a hand truck, or installed onto a DIY utility cart, the Giraffe Tools pressure washer adapts to any workspace. With proper installation and stable engineering, you can enjoy a powerful, mobile, and reliable cleaning setup wherever you need it.